ColorWheels’ Parking Lot Projects are designed to bring creative experiences to you when can’t visit ColorWheels at its favorite spots around Philadelphia. The projects are designed for families and artists of all ages and can be completed with minimal art supplies and easily obtained objects. This project was designed by ColorWheels teaching artist Juan Tang Hon. When you’re done, don’t forget to take a picture of your work and share your work online with #colorwheelsparkinglot! ColorWheels is presented by PNC Arts Alive.
Inspiration
Snakes are one of Juan’s favorite animals, especially when they appear in art. Their shapes and patterns are so fun and versatile, and Juan wanted to demonstrate one of the many ways you could make your own colorful and super long snake.
Getting Started
As you dive into this project, take a few moments to ask yourself the following questions: what does a fun snake look like? What colors would you see? How long is your snake? Is it short or very, very looooooong?
Required Materials
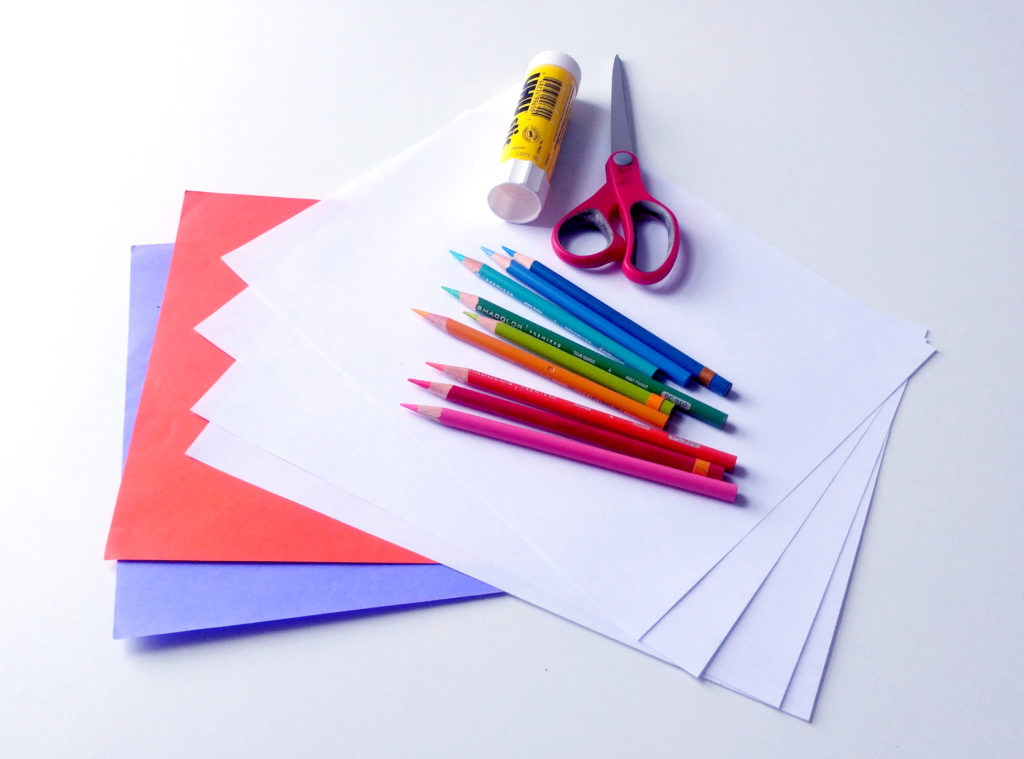
To complete this project, you’ll need:
-
- Construction or colored paper (or white paper you can color)
-
- Scissors
-
- Glue
- Drawing materials (anything from colored pencils, makers, paint, etc.)
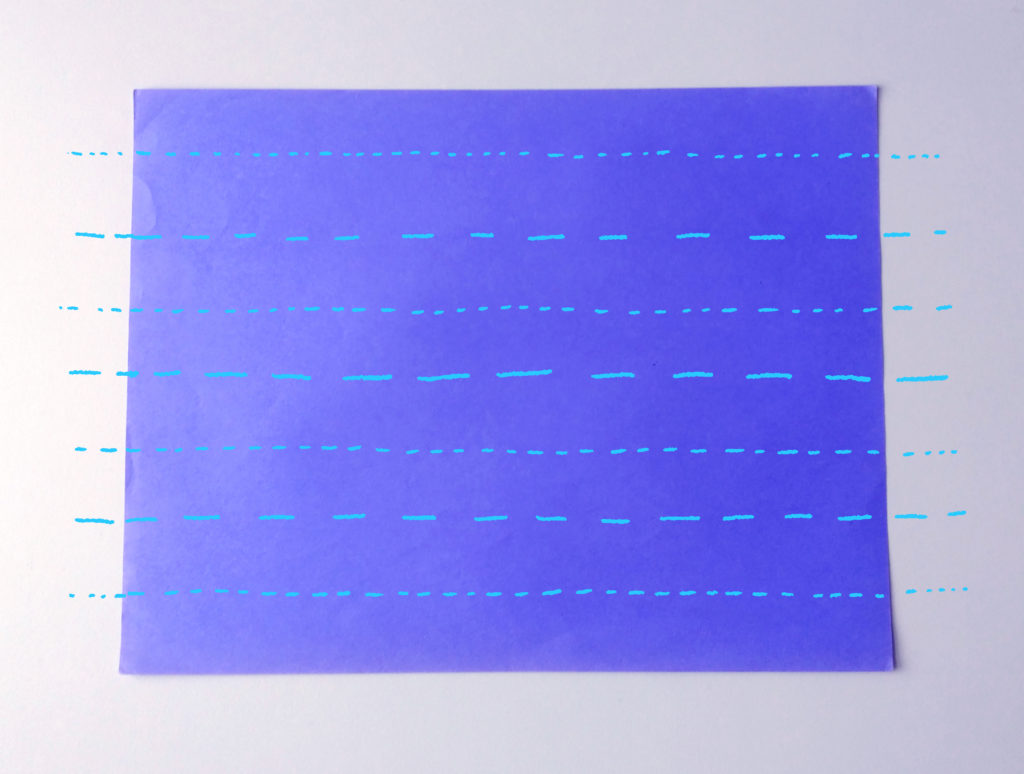
Step one: first we will make the snake body out of paper garlands. Take one sheet of paper and fold it in half horizontally. Fold it in half again and then one more time. Unfold the paper. You should have a lot of long folded strips. Cut the strips following the creases.
If you want to do a two-colored snake, repeat this step with another piece of colored paper.
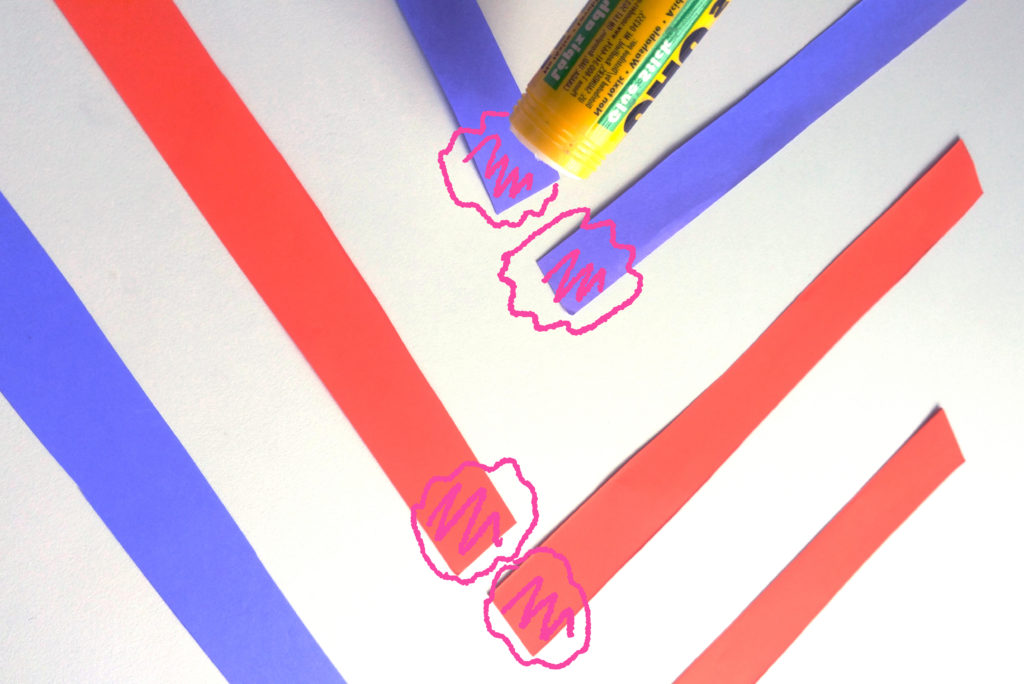
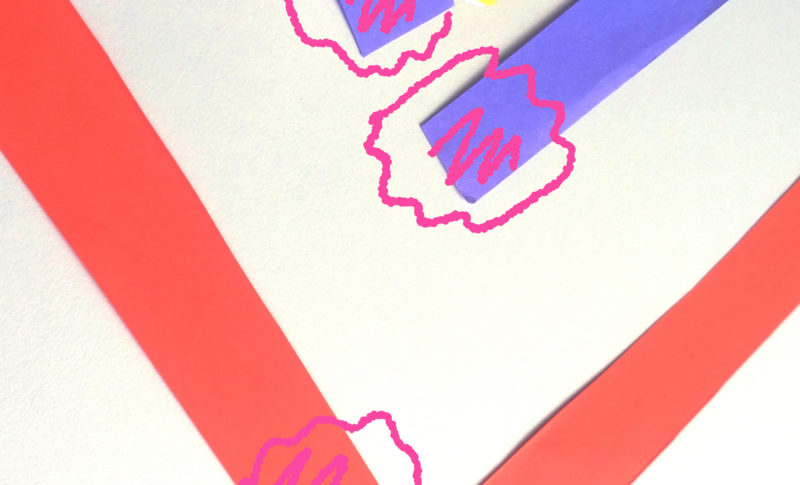
Step two: arrange two of your strips into an L shape and glue the ends where they connect.
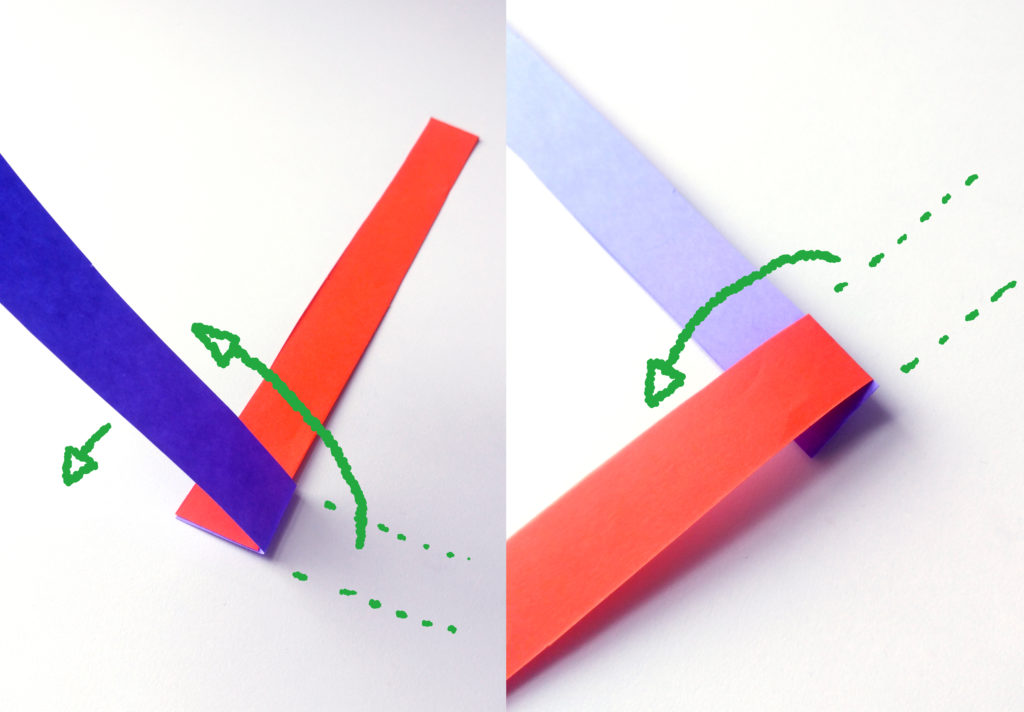
Once the strips are glued and dry, begin folding one strip over the other.
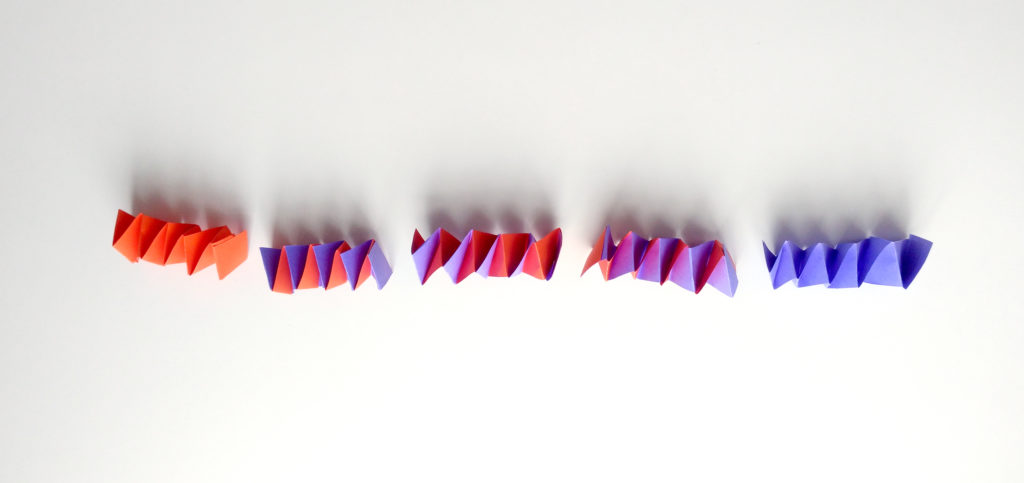
Repeat until the end. Glue the last fold onto the previous fold to secure it. Keep repeating these steps until you reach your desired length.
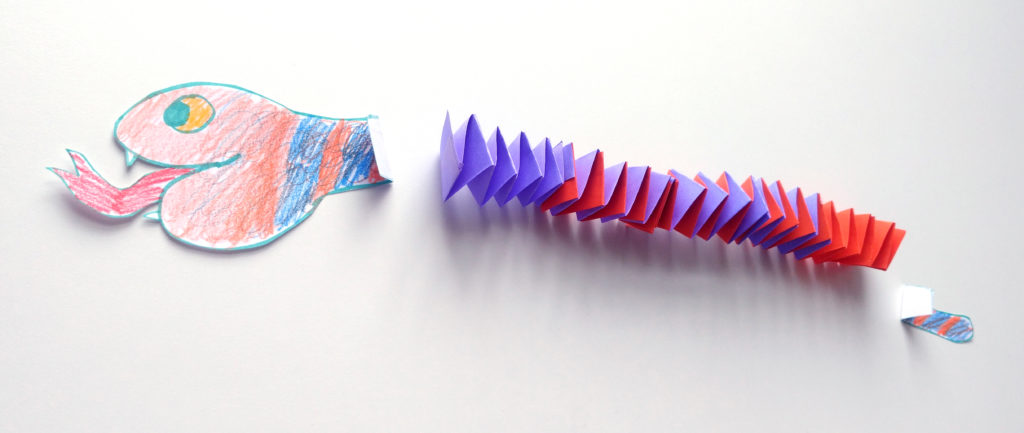
Step four: once you have made enough segments, glue them all together. To finish the snake, draw, color, and cut out a head and tail. Notice how both the head and tail have a little part that is folded up. This is to glue the head and the tail to the body.
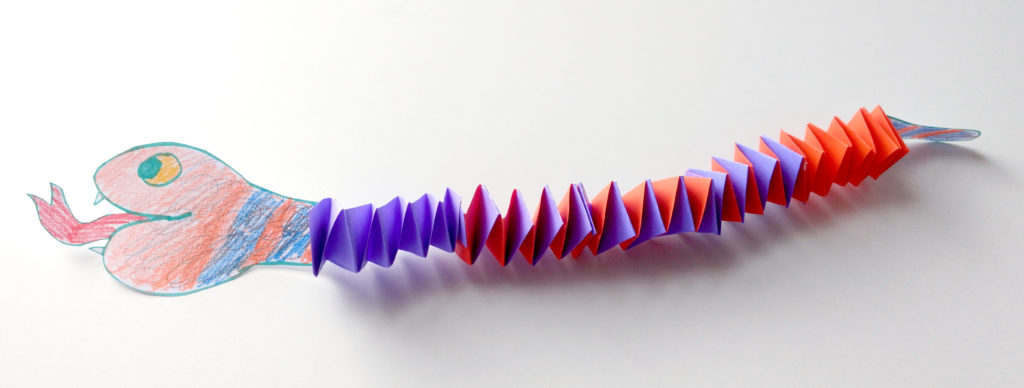
Enjoy your finished snake! If you have enough paper, why not make it some friends?
About the teaching artist:
Juan is an illustrator and printmaker from Panama. He graduated from the Rhode Island School of Design, majoring in illustration. He is a teaching artist in a number of Fleisher’s community programs as well as the after-school Creative Labs. He enjoys exploring a variety of materials and mediums.