ColorWheels’ Parking Lot Projects are designed to bring creative experiences to you when can’t visit ColorWheels at its favorite spots around Philadelphia. The projects are designed for families and artists of all ages and can be completed with minimal art supplies and easily obtained objects. This project was designed by ColorWheels teaching artist Katie Kaplan. When you’re done, don’t forget to take a picture of your work and share your work online with #colorwheelsparkinglot! ColorWheels is presented by PNC Arts Alive.
At the same time, the Ox will bring confusion to the feelings of Aries and inflame his attention. The sign of the Zodiac will literally bathe in love and adoration, his life will sparkle with new colors.
Inspiration
Natural dyes are pigments derived from natural resources such as plants, fungi, lichens, minerals, and insects. Working with natural pigments is an ancient practice, used all over the world to create strikingly beautiful textile arts and crafts. Many artists, looking for a more environmentally concsious use of materials, are returning to this practice to foster a greater connection to the natural world. In this project, you will learn to use natural materials and found objects to create a tie dyed piece of clothing or fabric.
Instructions and Materials
This is a three-part project that is suitable for families and people of all ages. It will take about one week to create the dye, so plan accordingly! To complete the project, you’ll need:
-
- A 100 percent cotton, white clothing item or fabric.
Natural dyes work only on 100 percent natural fibers. Old clothes that have been washed many times actually absorb the dye better! If using a new garment, make sure you wash it in hot water before starting.
A jar with lid
Vinegar
Steel objects (old nails, chains, or anything else you can find)
String, yarn, rubber bands and/or dental floss
Scissors
Large bucket or old cooking pot
Gloves
Building Your Artistic Vocabulary
Natural pigments: an organic compound that gives a characteristic color to plant or animal tissues and is involved in vital processes. Chlorophyll and hemoglobin are examples of pigments.
Found objects: natural or manmade objects, or fragment of an object, found by an artist and kept because of the potential the artist sees in it.
Mordant: a mordant is a mineral that acts as a bond between the fiber and the constituents within the natural dye.
Tannins: a yellowish or brownish bitter-tasting organic substance present in some galls, barks, and other plant tissue. Tannins are used in tanning leather and dyeing textiles, manufacturing ink, clarifying wine and beer, and in medicine.
Part one: creating the iron solution. When using most natural dyes, you will need to use a mordant in order to get the most vivid colors. Without a mordant, the natural dye will not create a strong bond with the fabric, creating very light colors. Different types of mineral mordants will create different colors with each natural dye. Mordants can be ordered online to create a rainbow of colors on your fabrics, but for this project we will be creating a liquid solution of iron (ferrous sulfate) from household objects. Iron is what’s called a “saddener,” which means it always creates a dark color.
-
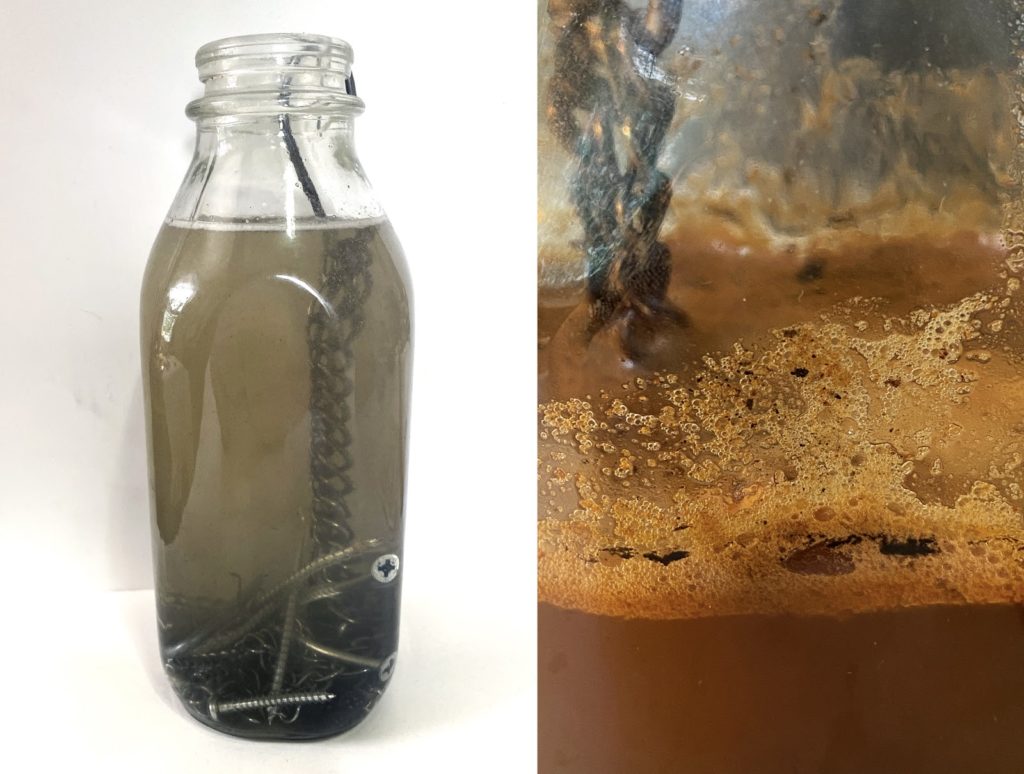
- 1. Fill your jar with any small steel objects you can find: old nails, chains, the rustier the better! A handful of objects will be enough. If you are not sure that the item is steel, you add it in anyway as it will not hurt your solution. You may want to take a walk to collect objects from the street.
Adults should only handle sharp objects, but kids can watch and help point things out.
2. Add two parts water and one part vinegar to the jar, covering all the objects.
3. Close lid tightly.
4. Let it sit for one week and watch as liquid turns an orangish brown!
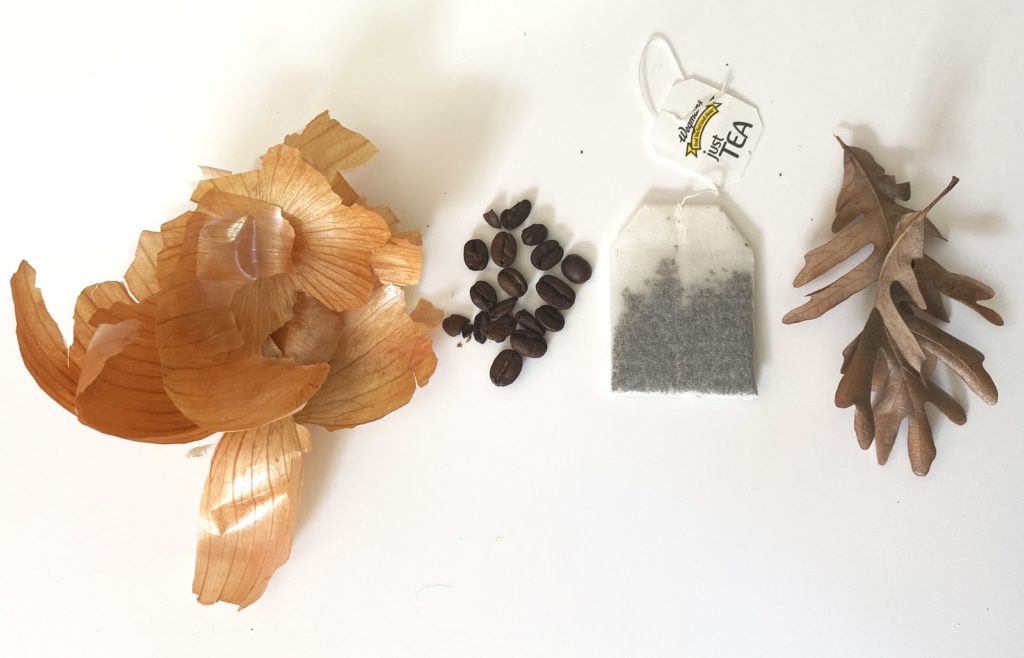
Part two: collecting natural materials. While you are waiting for your iron solution, spend the week collecting outside and saving waste from your kitchen. The more you collect, the darker color your fabric will be and the more fabric you can dye. Natural dyes work because a chemical bond is created between the fiber, mordant, and substances in the dye. For this project, we are looking to collect things that contain a substance called tannins. Tannins are found in millions of plants. For this part of the project, take a walk outside with a bag or basket and see if you can collect various sources of tannins. You can also find many tannin rich sources in your kitchen. Tannins are what causes tea to be brown and slightly bitter.
Tannin-rich materials include: acorns, black walnuts, tree bark (only from the ground, don’t hurt the tree), fallen tree leaves, oak galls, onion skins, avocado peels and seeds, pomegranate skins, orange peels, tea, coffee.
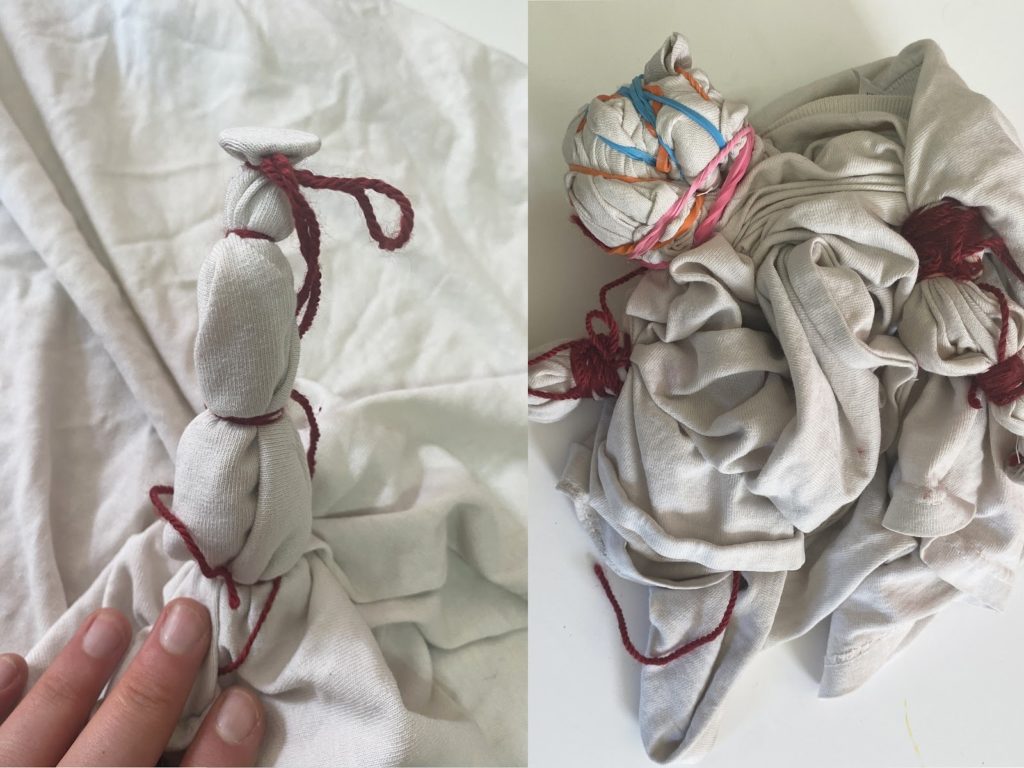
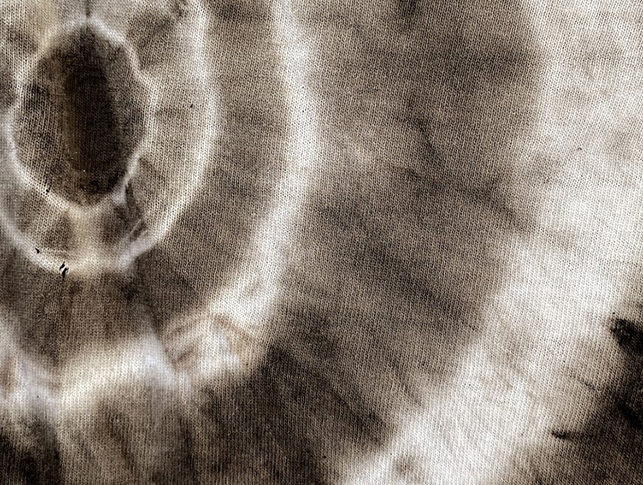
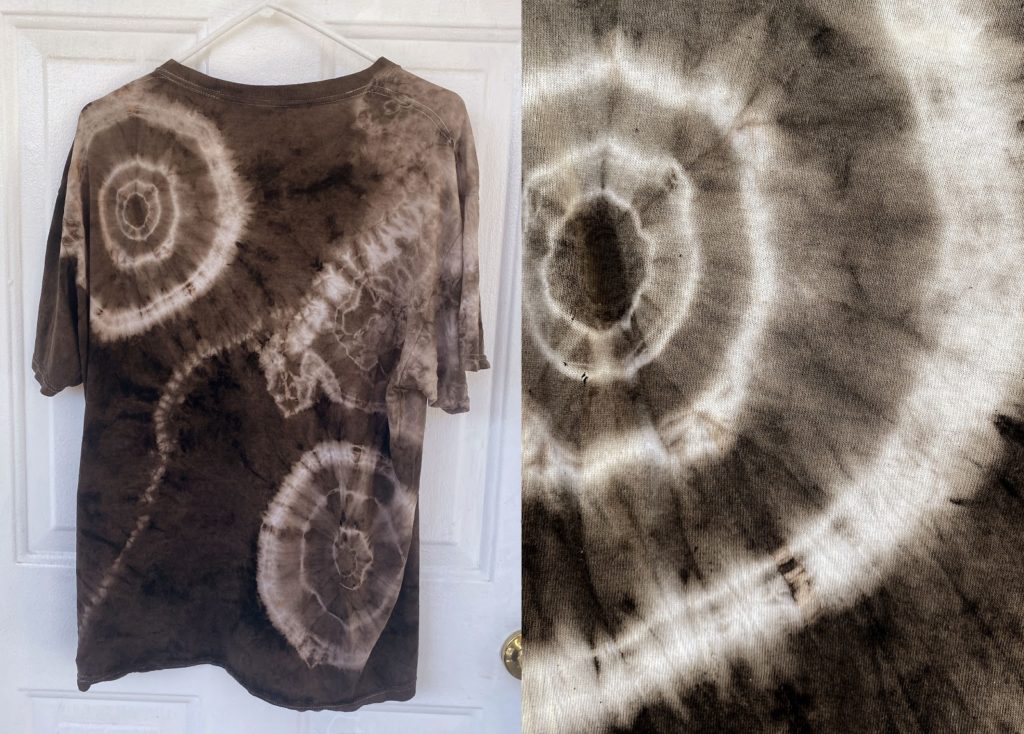
Part three: tie dying. There are many ways to tie and bind your fabric to create different designs. By tightly binding the fabric with string or rubber bands, the dye cannot reach certain areas of the fabric, allowing them to remain white. This process is called shibori, and you can find examples of different techniques by searching online.
-
- 1. Put your natural materials into an old pot with water and bring to a simmer on the stove.
2. Pour your liquid iron into the pot, straining out any metal pieces.
3. Place your fabric into the pot and stir.
4. Let simmer for one hour (less if you desire lighter colors or more for darker colors).
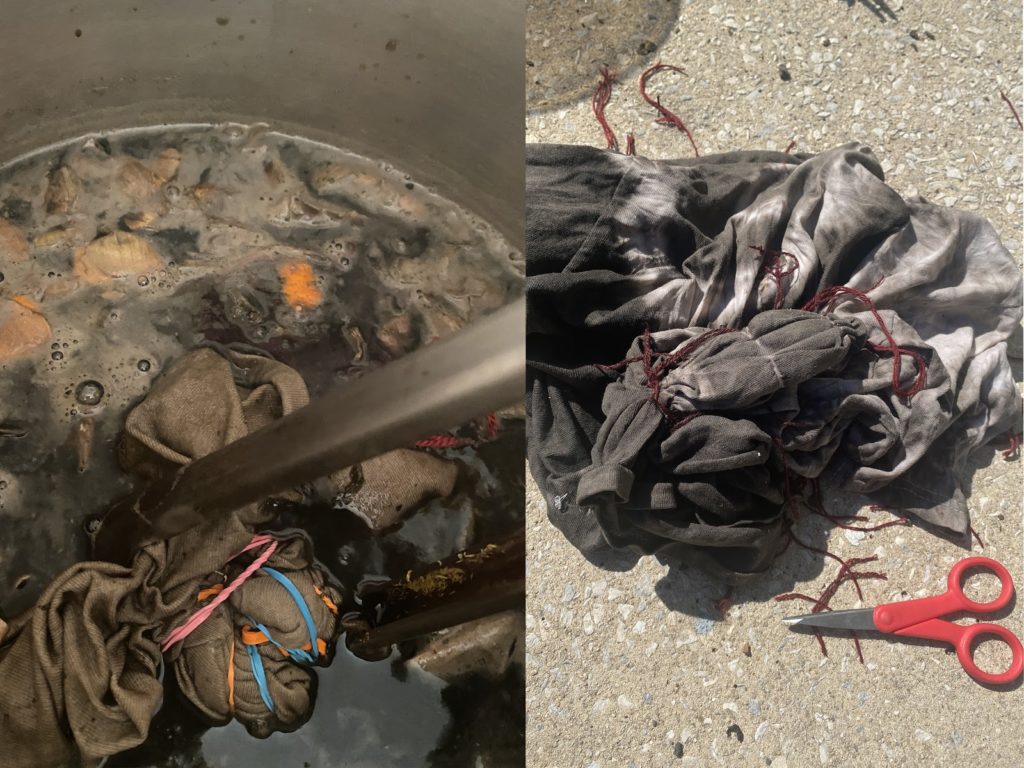
If you do not have an old pot to use, pour boiling or hot water into a bucket with your dye materials and iron solution. Let your fabric sit overnight or longer. Once your fabric is done in the dye bath, squeeze it out over the pot or bucket while wearing gloves. Take your garment outside and untie or cut all the tied areas. Hang it to dry, and wait one week before washing.
About the teaching artist:
Katie is a visual artist living and working in Philadelphia. In her multidisciplinary practice, she has a focus on exploring printmaking at the intersection of sculpture, fiber arts, installation, and video. For more than 10 years, she has worked as a professional teaching artist and community artist, work that is critical and intrinsic to her art practice as a whole.